Showing posts with label Insect - Bug Cards. Show all posts

May 3, 2020

Music by Minion Stuart

Hi Everybody,

Some of the products I have used have been provided to me from various companies I design for. Affiliate links may be used in the links provided below.

Cornelia here today. I hope you love Minions as much as I do. Crackerbox Suzy Stamps has a whole lot of them, you can see them all HERE.


 For this card I used Minion Stuart. I stamped and masked him. Colored him with Inktense and markers. Masked off a strip and sponged in yellow and blue.  Added the music strip without the butterfly. Added the sentiment.


Here are the 20% off stamp sale categories and card techniques.

Image may contain: text

You can get $5.00 store credit once a week. Each month we will have several categories on sale for 20% OFF and a technique for that month. All you have to do is make a card with at least one stamp from the sales category and use the technique (in May its "do a fold") and 
Vicky will put $5.00 on your store account and leave you a comment that it is done. We can't wait to see your creative work! 


April 20, 2020

Bee-cause you're Card by Martha Lucia

Hi there, Martha Lucia here! Bee-cause you're special I have a new card to share with you.


I decided to color this new stamp from Crackerbox & Suzy Stamps. It was part of the April releases and the name is Honey Pot Large. This is available in two different sizes and I have the large. To color the honey pot, I used my TriBlend Markers from Spectrum  Noir.


This is a layering card with dimension. I just created the card base and pasted a brown second layer directly over it. Then I stamped the image onto white card stock and after coloring I die cut on top the Sweet Hexi Die from RG Avenue. I splattered the brown layer with Gold Ink and pasted the stamped layer with 3D Foam Squares. The final touch the sentiment Bee-cause You're Special on top.


Did you see the new Nurse & Medical stamps

It is a special collection released a few days ago by Crackerbox & Suzy Stamps
You can combine the available promotions, so if you order them in April, you will have 20%OFF and FREE SHIPPING
Take a look of them HERE.
See you soon!

April 9, 2020

Easy Honey Pot Card With Kraft Cardstock Coloring

Hello crafty friends,
Melinda here and today I am sharing a card I created with the new Honey Pot stamp! This wonderful stamp is part of this week's NEW RELEASE and is ON SALE! So head over and SCOOP IT UP!


My card is a standard A2 size top folding card. That is my go-to size. I started with a piece of black cardstock.


I used the Buffalo Background stamp and stamped it in black onto some Kraft cardstock. I cut the mat and adhered it to the black cardstock base.


I then took the honey pot stamp and stamped it with some versamark ink. I embossed it at first with some white...or so I thought...embossing powder. Turns out it was a "SPARKLY TYPE WHITE" embossing powder. I tried to make it work. I colored the image in with my colored pencils. HOWEVER, it was a hot mess! I almost chucked it...but thought I have come this far...let's try to save it. SOOO I still had the stamp in my Misty.  I re-inked the stamp with more VersaMark ink. I then used some Black embossing powder and heat set that. This is the final result. I thought...Well...not my favorite but still turned out okay :-).


Here's a closer look at the embossing and the coloring. You can see the embossing is a bit "grainy" from the first mishap but otherwise passable. I did color the image with my white colored pencil first so that the various colors would be a bit more vibrant. Once it was all colored, I cut it out using my Oval Stitched scallop die. I also added a few little sequins for a little extra touch. The honey pot stamp is super cute and the entire image stamped beautifully!

For a little extra touch, I added a little button sitting on a black scalloped circle. I added a piece of brown twine along with a little patterned paper border and some black sparkle tape and more brown twine. 

Here is one last look at my completed card. I think in the end it turned out okay. I am glad I stuck with it and didn't throw in the towel.

Be sure to check out all the new releases this week and don't forget to join the blog hop for a chance to win a great prize. PLUS these stamps are at a special price this week only!

SUPPLIES USED

Thank you so much for stopping by and sharing your crafty time with me.Be sure to head over to the store and pick your stamps up. They have such a fantastic selection. Also visit often to see what the rest of the designers are creating. You will find some great inspiration! Until the next time, have a wonderfully crafty day!


March 28, 2020

Soft and Spring Card of Encouragement

Hello crafty friends,
It's Melinda today and I am happy to share this very pretty card I created.
The finished card size is a 5.5 x 5.5 square. It is a top folding card. The base is white cardstock.


Here's a closer look at the beautiful Monarch Butterfly stamp. I colored it with some soft pink Copic Markers and then some Spectrum Noir sparkle. You really can't see the sparkle in the photo. You can also see the background mat. I used the Flower Flourish  stamp to create the background imagery.

Here's a closer look at the pretty Daisy Bunch  stamp. I colored the daisies with some yellow and then some red orange. I added some stickles to the centers for a little extra pizzazz.

Here's a closer look at the Live Simply pretty sentiment. I stamped it onto the white square mat next to the daisies. I mounted that onto the pink scallop stitched square mat. I added some foam tape underneath and mounted it onto the background mat.

This shot shows the pretty Olesya's Butterfly stamp. I colored it in shades of yellow and then added a little Spectrum Noir sparkle but it doesn't show up on the photo. You can also see some of the backgrounds that I created with the Flower Flourish stamp. You can also see the stitching on the Scalloped square pink mat. I created the mat and cut it out with my electronic die cut machine.


SUPPLIES USED


Be sure to head over to the store and pick your stamps up. They have such a fantastic selection. Also visit often to see what the rest of the designers are creating. You will find some great inspiration! Until the next time, have a wonderfully crafty day!

March 21, 2020

Buzzzing Around by Donna Idlet

Happy Spring everyone!

It's Donna here featuring two rubber stamps which are Bee Girl and the sentiment is Buzzzing Around.  This sentiment is perfect for a get well card and the bee girl is just adorable. 

Every month Crackerbox & Suzy Stamps will have a theme, this months theme is die cuts, Snarky,
Sweet Sentiments and Get Well. If you would like to join, please feel free to share on the Crackerbox & Suzy Stamps Flaunt It If You Made It Facebook page. Each week one person will be chosen to receive a $5 store credit. It will be added to your account to spend on any rubber stamps from the store. All you have to do is make a card with at least one stamp from the sales category and use the technique and post it on the facebook page!

This months sale is 20% off Easter, snark, sweet sentiments and get well.


Here is my card for your inspiration:

My card is an A2 card, I cut my design paper at 4 x 5 1/2, I then cut another piece of design paper 4 x 3 and adhered the pieces together on my card base.  I cut the shaped die with colored cardstock and stamped the sentiment Buzzzing Around with black ink.  I stamped the Bee Girl with black ink and colored her with copics.  I used foam squares to pop the image onto the shaped die.  Clean and simple, but I love how my card looks.  


Closer look at the card.


Thank you so much for stopping by, please come back again soon.

January 14, 2020

Butterflies in Winter

Hello everyone!  This is Shanna here today with another fun card featuring some whimsical stamps from Crackerbox & Suzy Stamps.
Today's card features 3 different stamps from the vast collection available over in the shop!
Snowflakes Small & Medium (set of 2)
Winter’s Butterfly


I had a lot of fun using the emboss resist technique on a slimline shaped card. Slimline cards are also known as A10 size cards, fitting into a legal envelope.  I started by stamping my snowflakes in mbissing ink, then heat embossing them all in white embossing powder.  I used distress oxides in Chipped Sapphire, Blueprint Sketch, Peacock feathers, and Wilted Violet for my background. I love how the white snowflakes POP against the vibrant background.

I heat embossed my sentiment in sterling embossing powder and cut it apart to arrange in the centr of my slimline panel.  That finished off the card!


Guess what!!!???!!!  As a celebration of the new design team members, our favorite stamps are 50% OFF for the month of January!!!  That is so awesome!!!  Here is a link to my earlier post this month using this beautiful Castle stamp.


There is also a special going on thought January over in the shop, so be sure to check your wishlist and shop away! Valentines cards are coming up fast!


Well, that wraps up my post for today! Be sure to stop by and say hello over at my blog, Caffeinated Craftiness or follow me over on Instagram to keep up with my caffeinated adventures!!  See you again soon!
~Shanna


January 10, 2020

Stamping in Heat Embossing + A Video Tutorial

Hi everyone! It's Lindsay here, from Crafting While Caffeinated Blog and YouTube Channel. Today, I have a really fun technique to share with you that you can use with your Crackerbox & Suzy Stamps - Stamping in Heat Embossing!! For all the details, be sure to watch the video tutorial below!

https://youtu.be/33VOC8HBXrc

The video tutorial above contains products that were sent to me free of charge for design purposes. I only ever design for companies I can stand behind 100%!!


This technique is really very simple. You need only embossing powder, an embossing ink pad (I used Versamark), a heat tool, cardstock, and a rubber stamp. I want to take a second to talk about the stamp choice here. The stamp you use has to be rubber. You can not use clear stamps for this technique it will ruin them. For my cards today, I am using stamps from the Crackerbox & Suzy Stamps shop. I know that these are HIGH QUALITY and work wonderfully for this technique!


The main objective to this technique is to build up your layers of embossing powder to create a very thick layer of embossing powder. I used many different colors to layer on top of one another, but one color works just as well! Each project of mine contains 12-15 layers of embossing powder each. Once you've built it up, heat the powder one last time. When the powder is nice and hot, all that is left to do is press your rubber stamp into the hot powder. Let it sit and cool down, then peel up your stamp to reveal the stamped impression!

For all the details on creating each of these projects, be sure to watch the video tutorial above!

Before I go, I want to let you know that all this month there are some stamps on sale over in the Crackerbox & Suzy Stamps Shop!! This month the Valentine's/Love, Birds & Butterflies, and Football stamps are all on sale!! 20% OFF!!!!


I hope you all enjoyed the tutorial today! If you are interested in any of the stamps I used you can find them all listed and linked down below. Until next time, happy crafting!!

The supply list above contains affiliate links that can be used at no additional cost to you!


January 2, 2020

Be My Valentine

Happy New Year Everyone!

It's Donna here and I have a Valentine's Day card to share with you.  I am using two of Crackerbox & Suzy Stamps called Butterfly 3  and Be My Valentine

Crackerbox & Suzy Stamps has lots of new incentives for you this year, please be sure to click here to find out all about it.

Here is my card for your inspiration:

My card is a clean and simple card which is the theme for the month.  My card is a square card measuring 4 1/4 x 4 /14, I used the Wreath Builder stencil to create my card, I stamped the beautify Butterfly 3 with red ink four times, I then stamped the sentiment called Be My Valentine.  I finished my card by adding some bling to each butterfly.


Closer look at my card.


Thank you so much for stopping by, please come back again soon!

Here is the current promotion going on at Crackerbox & Suzy Stamps.


September 27, 2019

Let's Make a Halloween Card + A Video Tutorial

Hi everyone! It's Lindsay here, from Crafting While Caffeinated Blog & YouTube Channel, sharing another video tutorial. The majority of the time I have a fun technique with several cards/examples to share, but not today. Some days, I just have an idea for a card and I make it and that's what I'm doing today. I'm using several Crackerbox & Suzy Stamps to create a fun Halloween card and the best part, the stamps I'm using are on sale for a few more days! So HURRY and do you Halloween shopping now while the sale is still happening! More info is below! But first, watch the video tutorial on how I created a really fun Halloween card!

https://youtu.be/cRaca48ux0A

This is one of those cards that has quite a few pieces that need to be done before you can assemble them all into the final card. Keep reading below for a breakdown of those steps!

To start off I needed to create my background. My background is an A2 sized white cardstock panel with ink blending. I used Catherine Pooler inks in Lime Ricky, Icing on the Cake & Over Coffee to ink blend a very quick scene. To make it a bit more interesting, I ripped a piece of painter's tape to create a jagged masked line!


On that background I also stamped a spider web using Midnight ink from Catherine Pooler and a web stamp from Crackerbox & Suzy Stamps. I also added a black splatter to just the top of the background with black acrylic paint that I watered down with a bit of water. Be sure to watch the video above for more details on that! Then, I set the panel aside to dry while I worked on a few more pieces of this card.

While the panel was drying, I went ahead with stamping and color quite a few stamps from Crackerbox & Suzy Stamps. These were going to make up the rest of the scene on the card. I stamped, colored and fussy cut a cat, broom, spider, and a few potion bottles.


One last piece was needed before I could put this card together, the sentiment. I used a new sentiment that hasn't been released yet! Be sure to come back on 10/3 to check out the entire new release!!

Be sure to check out the video above to see how I put all of the pieces together to create the final card!


Don't forget to do your shopping for Halloween stamps now. You have a few more days to take advantage of the 20% off the Halloween category in the Crackerbox & Suzy Stamps shop!!

Click HERE to go shop the Halloween category!!


That does it for me today! I hope you all enjoyed this simple tutorial! If you are interested in any of the stamps I used today, you can find them all linked and listed down below! Happy Crafting!!


July 24, 2019

Gone from Your Side Butterfly


Happy Wednesday! Ericka here and I hope your week is going well.

Unfortunately sometimes you need a sympathy card i and I needed to make one for a friend. I love the Fancy Butterfly and thought it would be the perfect image to go with this From Your Side Stamp.


I started by using Color Burst pigment powder on some watercolor card stock. I used Chartreuse, Cerulean Blue, Turquoise, and Prussian Blue spritzing each color with water and letting the layer dry before adding another one.

Once my panel was dry, I used Versmark ink and  gold embossing powder to stamp the butterfly on the watercolor panel. I then used some gold spray and lightly misted the background.


I wanted to add a misty look so I took a piece of vellum and, in my MISTI, stamped the same image matching it up to give it more depth.


I added the vellum to the back of the watercolored panel with double sided tape and glued it to a navy blue base.


I also stamped the beautiful sentiment in the same gold embossing powder and finished the card with some gold sequins.


Thanks for stopping by and don't forget we have an exciting Blog Hop August 1st to celebrate our new release stamps!


Also, don't forget the sale this month!
https://rubberartstamps.com/?aff=35


July 19, 2019

Faux Watercolor Card by Martha Lucia

Hi there, Martha Lucia here!
Today I am featuring a faux watercolor stamped card that I made using the Butterfly 3 and the sentiment Take Fly.


To create this card, I used the acrylic block technique. It is a simple technique that consist in apply the ink directly with the ink pad over an acrylic block and spray the ink with water or another liquid medium. HERE you can find all the details and steps to duplicate this technique in your own creations.

I used two different colors of dye ink from Catherine Pooler in combination with our stamps Take Flight and Butterfly 3.

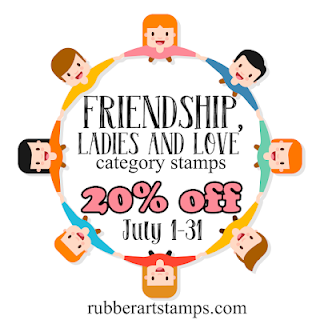
This month the promotion of stamps in Crackerbox & Suzy Stamps is simply amazing: The Friendshipladies and love category stamps are 20% OFF. This promotion is available until July 31st HERE.
Faux Watercolor stamped card 

SUPPLIES:

Affiliate links are used where they are available. If you make a purchase I receive a small commission at not extra cost to you. Thank you so much for your support!
Take Flight Take Flight Shop at: C & S Butterfly 3 Butterfly 3 Shop at: C & S Whisper White Cardstock by Stampin Up Whisper White Cardstock by Stampin Up Shop at: OT Memento Tuxedo Black Ink Memento Tuxedo Black Ink Shop at: KS | SB
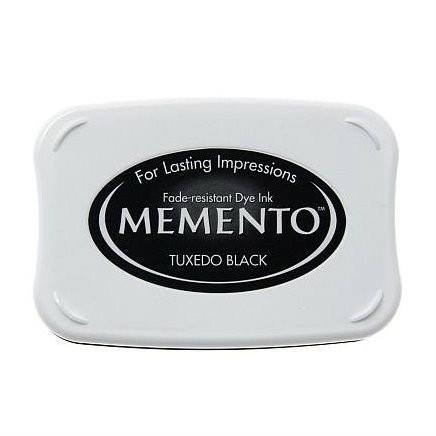
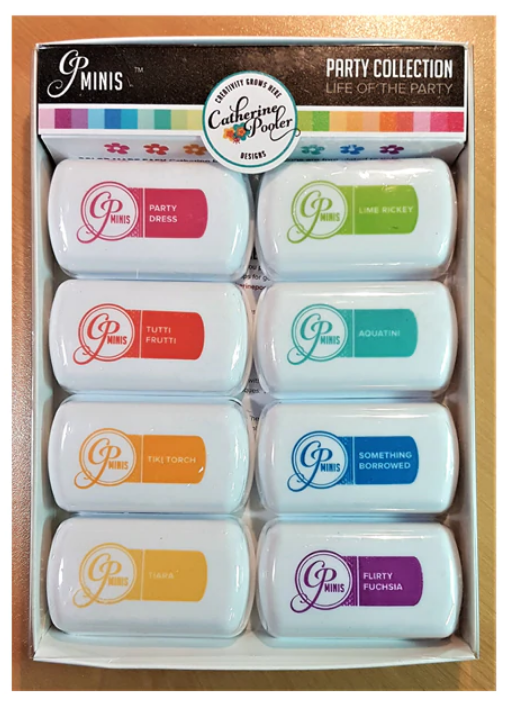
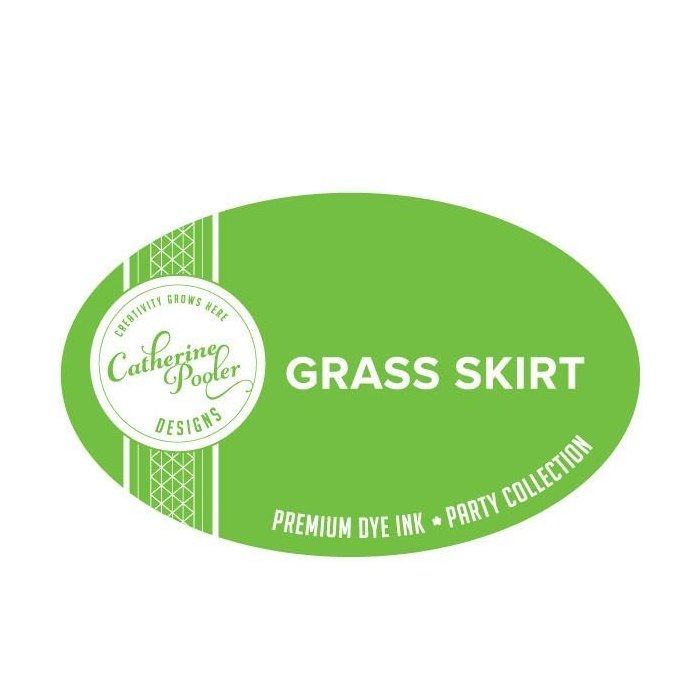
Party Collection Minis Inks CP Party Collection Minis Inks CP Shop at: C & S Foundations Set of 4 CP Inks Foundations Set of 4 CP Inks Shop at: C & S Grass Skirt Dye Ink by CP Grass Skirt Dye Ink by CP Shop at: C & S All That Jazz Dye Ink by CP All That Jazz Dye Ink by CP Shop at: C & S
Make Art Stay-tion All in One Make Art Stay-tion All in One Shop at: KS Spectrum Noir Alcohol Markers Spectrum Noir Alcohol Markers Shop at: OT | SB Paper snips Paper snips Shop at: OT