.jpg)
Summer is finally here, and the plants are thriving while gardeners everywhere are busy tending to their little green worlds. While you're taking care of your garden, don't forget to nurture your friendships too!
For today's card, I kept things simple with a one-layer design featuring the Plant Pots 2 Open stamp. I masked the Small Ivy so it could spill beautifully from the pot, and ended up masking both the pot and ivy twice to build the scene. The garden tool at the bottom comes from the Gardening Tools Set of 7 and adds the perfect finishing touch.
I love how this card captures a quiet summer moment with just a few stamps and a little masking. A sweet reminder that growth happens both in our gardens and in our relationships.
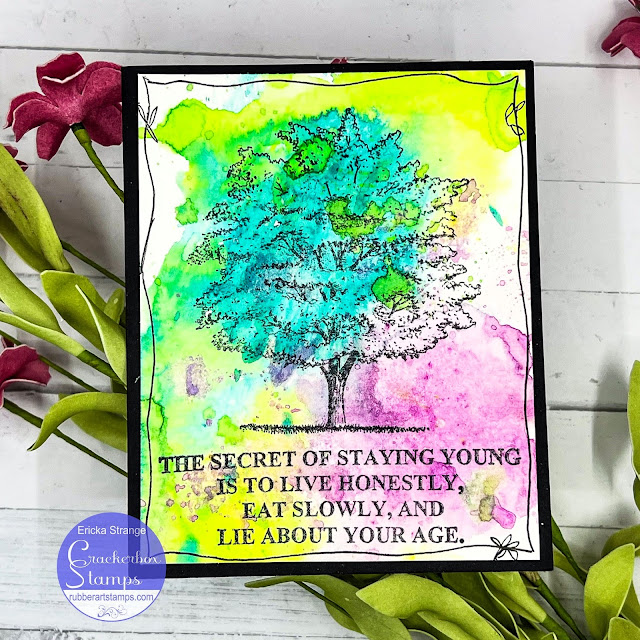
All products used are from Crackerbox Stamps.
Additional Supplies: Watercolors, White Gel pen, Brown Marker, Pattern Papers and dies.