Hello and welcome! This is Shanna from Caffeinated Craftiness here today with another Crackerbox Stamps project for you! Today's card features some of my all-time favorite stamps that were released in 2021!
Girl Friends
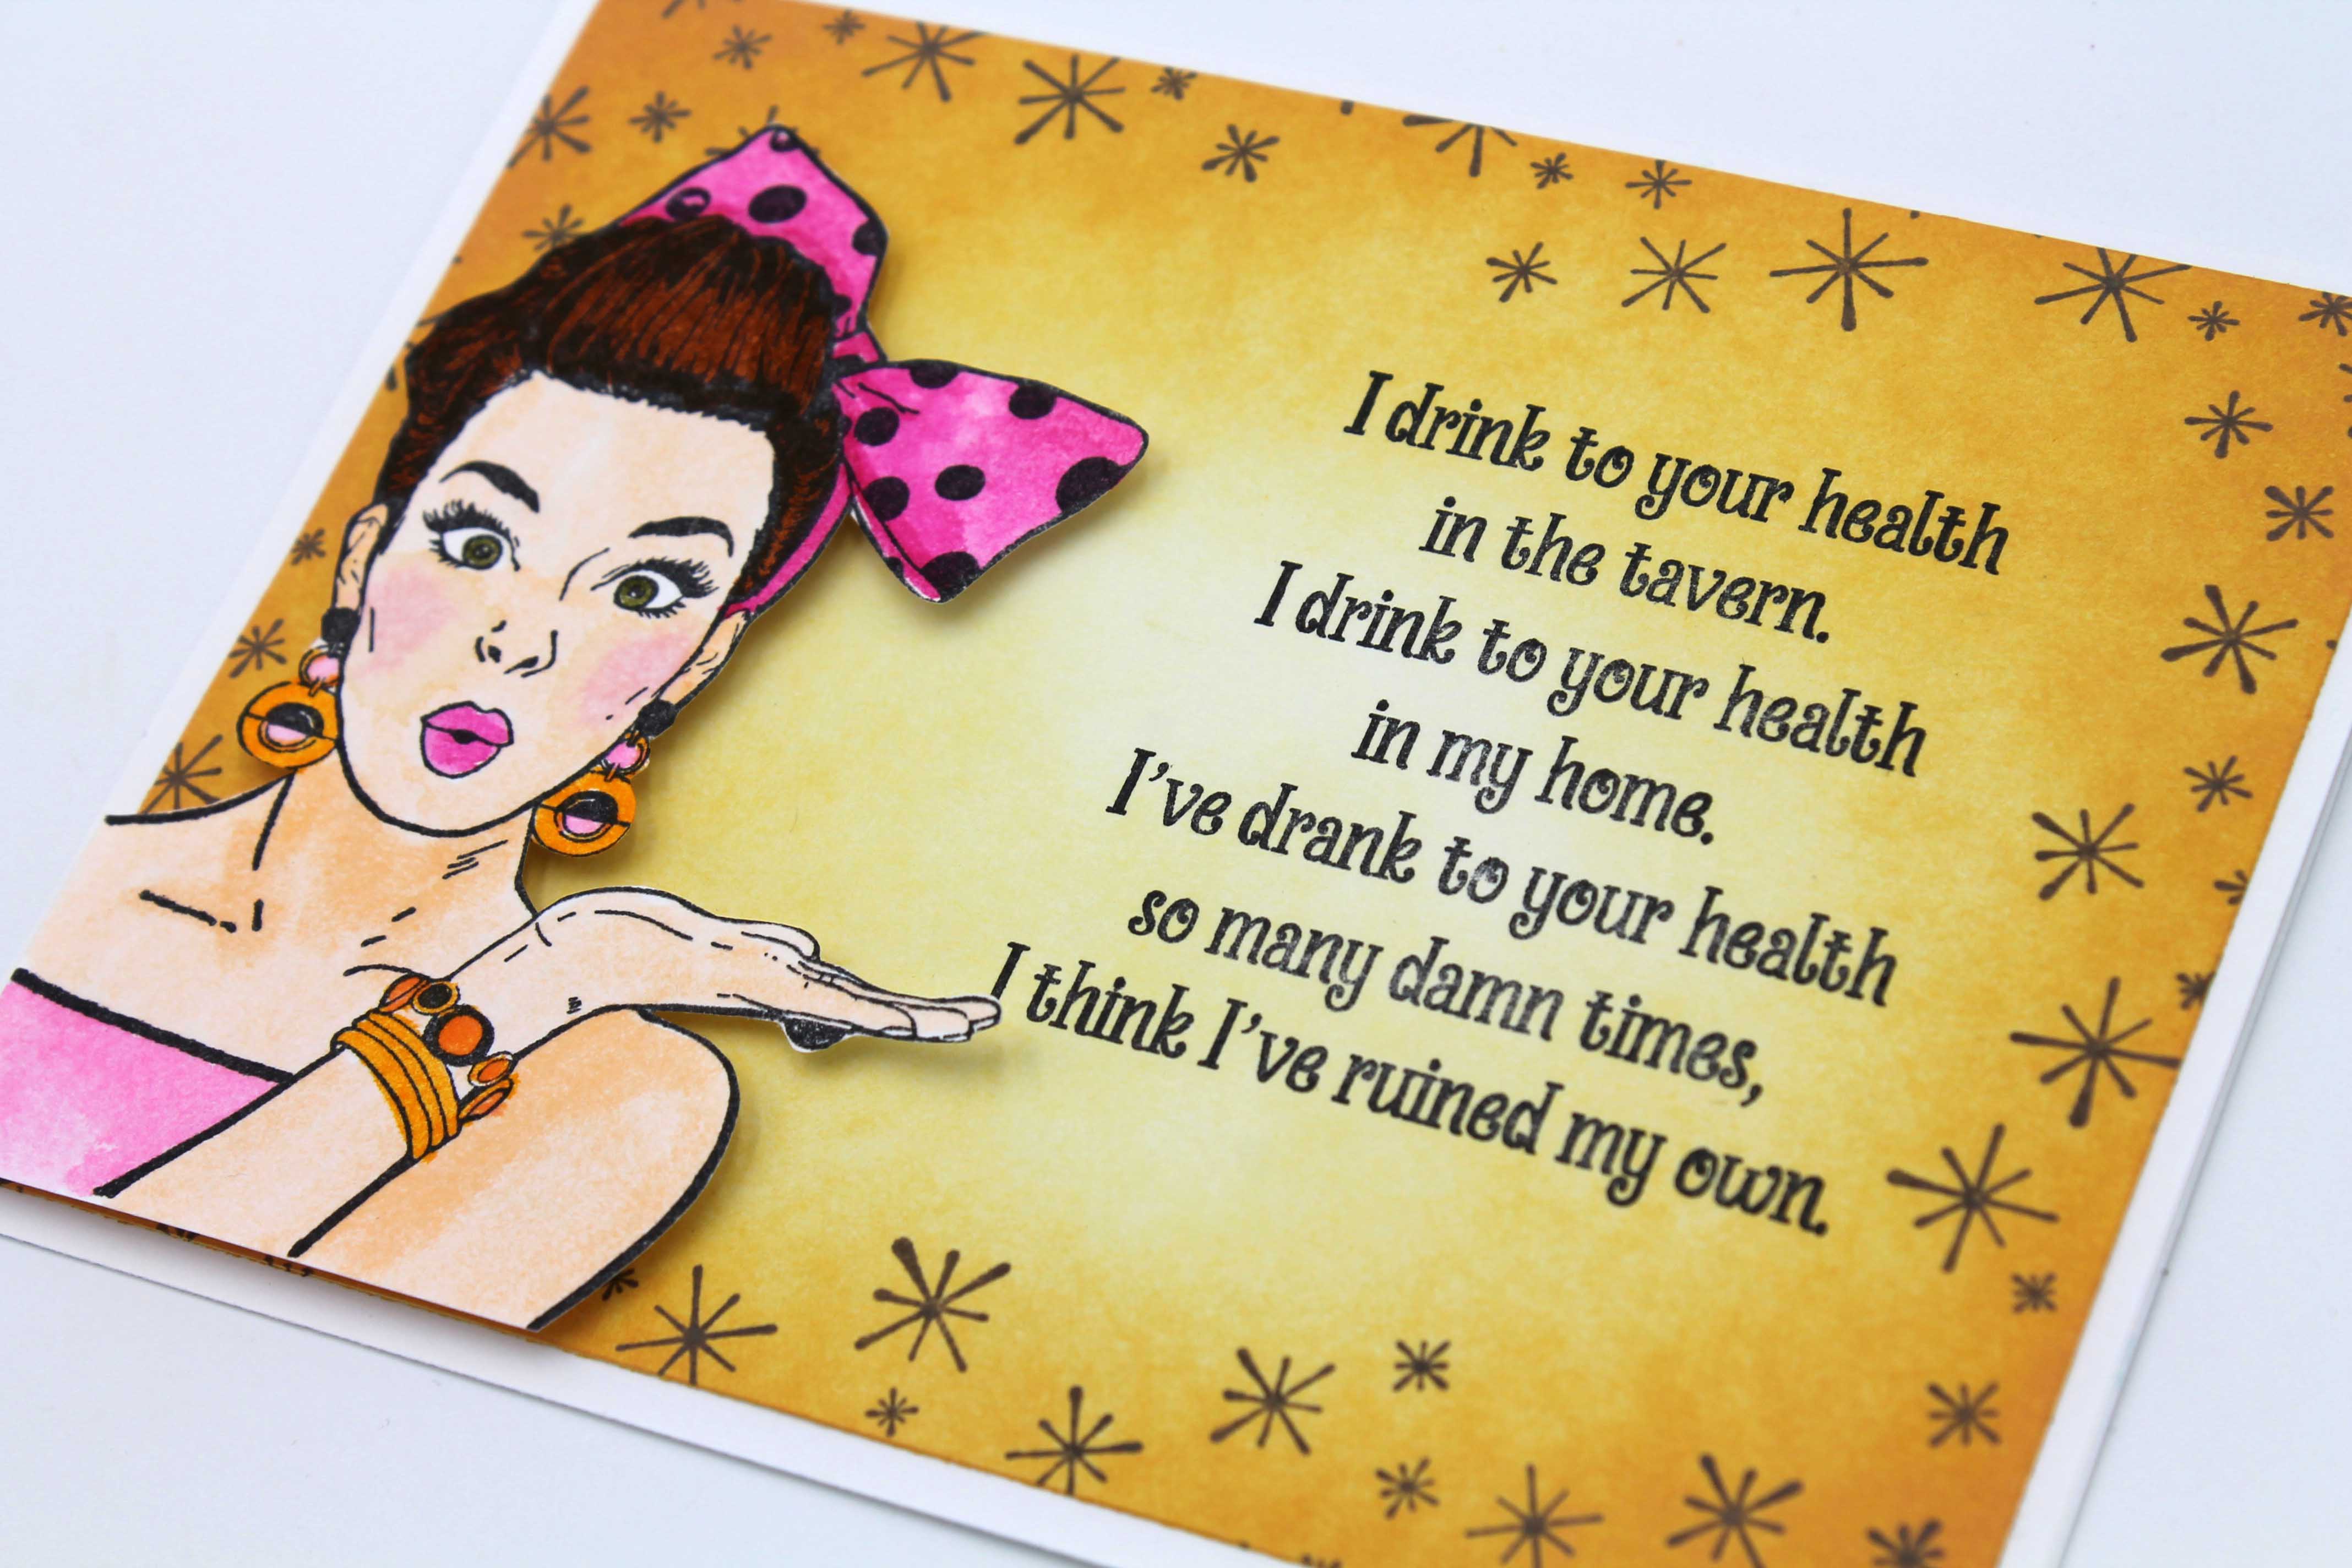
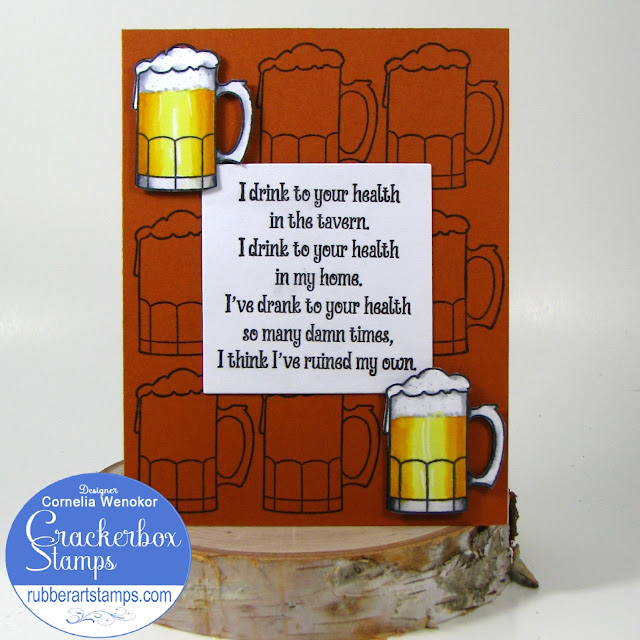
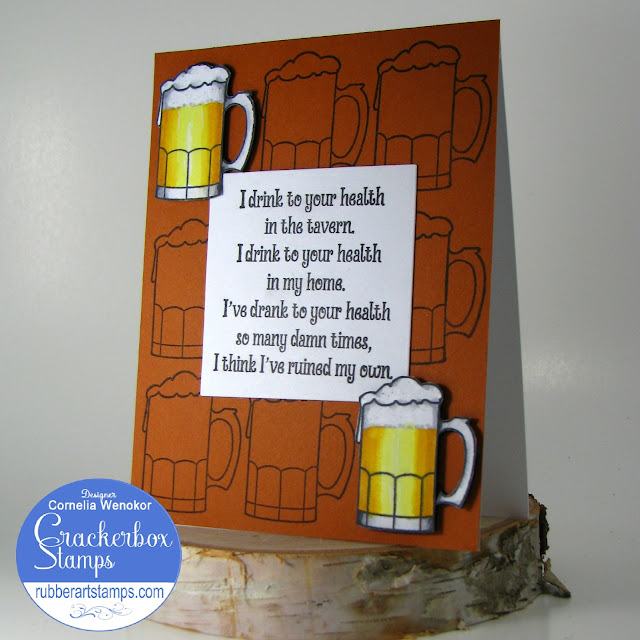
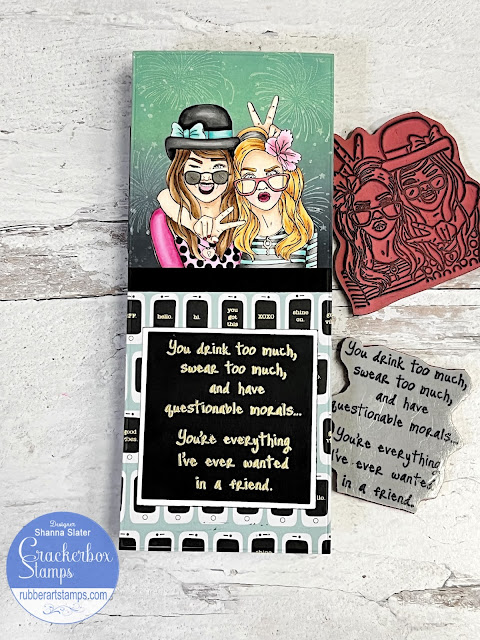
Drink too Much
also-- I used the Fireworks stamp as well in my background
This pair makes me giggle---and when combined with the sentiment it is a hit all the way around!
I decide to do a vertical slimline card---roughly basing my idea off of a New Year's Eve BFF selfie! LOL
I started by stamping my Girl Friends image in Copic safe black ink and then coloring it with my Copic markers. I then stamped and fussy cut the image out of masking paper and masked the entire image off so I could ink blend a background behind them.
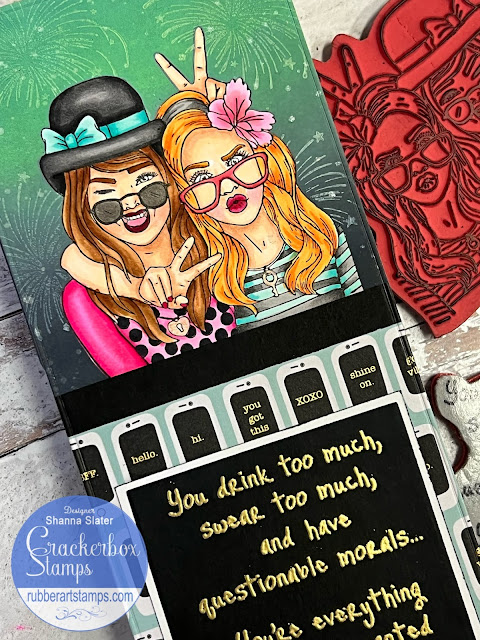
I grabbed Distress oxides in Black Soot, Iced Spruce, and Cracked Pistachio and blended a gradient with the 3. Then I grabbed my white pigment ink and my Fireworks stamp and added some random fireworks in the background. It is subtle but adds the perfect amount of interest to the background.
My sentiment was heat embossed in gold onto black cardstock. I had an older 6x6 pattern paper pad that had the text message print in it and I thought it went great with my "NYE Selfie" theme. I cut a piece to cover the bottom half of the card base, then I matted the sentiment onto white before adhering it on top of the patterned paper.
What type of stories do you think these girls would tell after a night on the town?? Hehehe
That wraps up my post today, see you all again soon!
~Shanna